Guest Tutorial With Lemon Squeezy Home!


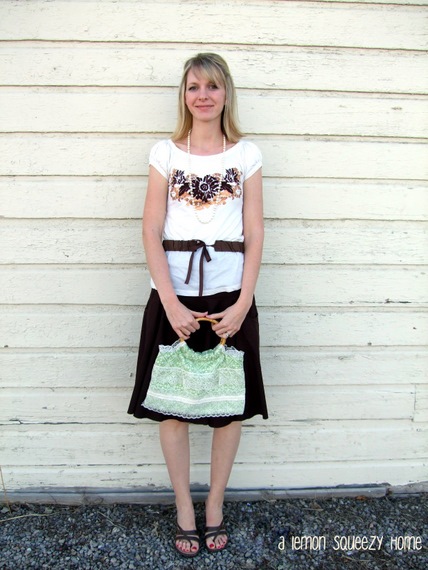
I look at this purse and think spring and summer outings like picnics under large shaded trees, walks in the park, picking wildflowers, or driving through a street lined with blossoming trees. You could certainly bring it on a romantic date or a girls night out :).
This bag takes about 45 minutes to make. By my 4th one, I had it down to 30 minutes, so it’s quick. I’m not the fastest sewer, either, so it could probably be done even faster.
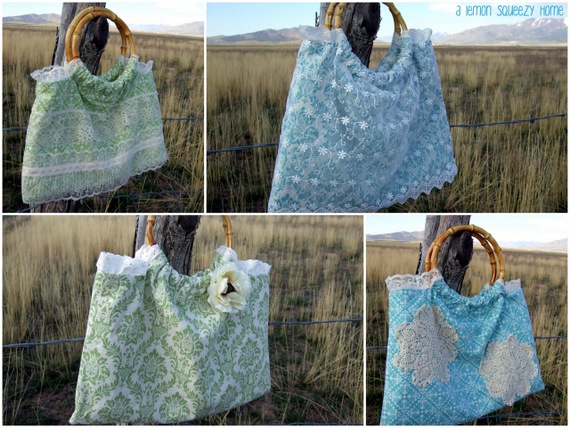
This tutorial is showing how Purse A was made. The four styles are labeled for your reference, since I will include any changes you need to make for the different looks. Don’t let that intimidate you though—it is only a couple places where things differ at all.
You’ll need:
*Two 13” x 15” pieces outer fabric (I used cotton for the outer and inner fabric)
*Two 13” x 15” pieces inner fabric
*Two 13” x 15” interfacing. **TIP: I used craft fuse on two purses, and I used midweight fusible interfacing on the other two. I liked the craft fuse because it really made a stable purse, but I liked the fusible interfacing for it’s ease of working with while sewing.**
*Lace strips, however many you’d like to fit on your purse. Cut two of each kind you are wanting, each 15” long.
*Two 12.5” pieces of lace for the top of the purse by the handles.
*Two 6” bamboo round handles, found at most craft stores
*If you want magnetic snaps or a pocket, those are just extra steps that are easy to implement while making your purse. You’ll want to insert these steps before Step 6.
*Purse B, cut two 13” x 15” pieces of lace with a finished edge
*Purse C or D, grab some doily’s, flowers, ribbon, or whatever else you’d like to add to your purse.
Step 1: Start by cutting all your pieces, and ironing on your interfacing to your lining fabric (if it’s fusible; if not, just sew the interfacing onto your lining with a basting stitch).
Step 2: Taking one of the 15” edges, cut out a 3” x 3” square in the top two corners.
Step 3: Line up your lace how you want it on your purse and mark a line with something non-permanent (I used quilter’s chalk). Sew on the lace, using the lines you marked as a guide.
Purse B: place your lace on top of the outer fabric and sew it on top , wrong side of the lace to the right side of the fabric, using a basting stitch.
Purse C: Sew on your doily’s however you’d like to:).
You’ll now have two pieces that look like this:
Step 4: Place the right sides of outer fabric together, pin, and sew just along the 3 sides (shown below with the dotted line) with a 1/4” seam. If you sewed your lace close to the bottom, just pin it up so that it doesn’t get caught on that bottom seam.
You will have definitely have to do this on Purse B. (See second picture below)
Step 5: Turn right side out, and take one of the 12.5” pieces of lace and sew onto the cut out portion at the top of the two pieces. See picture for reference. You’ll want to sew the right side of the lace to the right side of the outer fabric.
Repeat with other side. Your outer pieces will now look like this:
Step 6: Take your lining pieces, pin, and sew together along the dotted lines (shown in picture) with a 1/4” seam. Make sure you leave about a 5” gap for turning the purse.
Step 7: Keep the lining turned the wrong way, and keep the outer fabric turned out the right way. Place the outer fabric inside the lining, right sides together. Starting with the seams on either side, line up the top edges of the inner and outer fabric. Pin.
Step 8: Sew around the entire top of the purse with a 1/4” seam. Clip corners as shown below.
Step 9: Pull the purse through the hole in the lining, and stitch the lining closed.
Step 10: See the flap looking things at this point?
Mark a line 3” down on the inner fabric. Place your bamboo handle in the middle, and pull the fabric down to that line. Using your zipper foot, sew the handle in. Repeat with other handle.
Purse D: Once the handles are done, figure out where you want the flower and either hand-stitch on or glue on.
Yay! You just made a cute purse for that special someone for Mother’s Day. Maybe YOU are that special someone:).
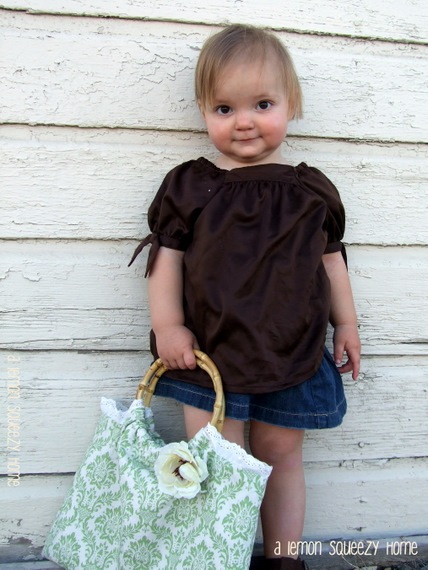
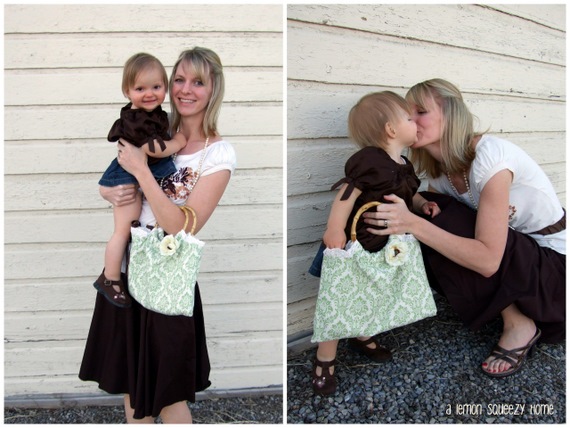
My Little Miss B is pretty obsessed with all things girly, already.

Happy Mother’s Day to every woman who is a Mom, Sister, Daughter, Aunt, Friend, Grandma, or any other kind of Mother figure. Us women? We have a big job of making the world a better place. Let’s celebrate!!!


Wonderful purse. I will definitely make one. Thanks for the straightforward instructions!
ReplyDeleteThis is awesome!!!! What a great, easy to follow tutorial :)
ReplyDeleteHappy Monday!
xo Cat
adorable!
ReplyDeletebeautiful! so feminine and sweet.
ReplyDeleteAnd those pictures with Little Miss B are adorable!
Ooohhh... I just love these! My favorite is the first one in green. Thanks for sharing!
ReplyDeleteLove it!!! I would never have guessed that it could be made so quickly, either!
ReplyDeleteI linked to your tutorial on Craft Gossip Sewing:
http://sewing.craftgossip.com/tutorial-quick-easy-summer-bag/2010/04/26/
--Anne
Great job, Christie. I love the lace over the top. Nice touch! Way to go!
ReplyDeleteDarling idea! I like having options too :)
ReplyDeleteDisney, thank you so much for your sweet comments. And for having me today! I was so excited to get on this morning! Thank you!!!
ReplyDeleteI love this tutorial! You make it sound so easy. I must try this. Thank you so much for sharing! :)
ReplyDeleteOh I love it. Great tutorial! Thanks!
ReplyDeleteLovely!
ReplyDeleteAnd so easy to make, I'll try it out.
Thank you two so much!
Thanks for sharing such summer cuteness!
ReplyDeleteI love these purses! So darling! I'm excited to make one. Thank you for the tutorial!
ReplyDeleteLove this tutorial!
ReplyDeleteHow great!
The photos that go with it are adorable too!
Love the one with the flower on it. I have a beachy vacation coming up in June. This will be the perfect bag to take along!
ReplyDeleteYou make it look so easy. I just may have to try this!
ReplyDeleteI have to tell you that I went out and bought green damask after seeing this post! I'm making my mothers this purse for Mother's Day, and one for me too!! Thanks for sharing :)
ReplyDeleteum little miss B is too cute for words and makes a great accessory to the lovely bag. :)
ReplyDeleteBeautiful! Love this "Celebrating Mom" month!!!
ReplyDeleteLovely bag and cute little girl! :)
ReplyDeleteI agree with you Disney, she is one of the sweetest ladies in blog land. So are her creations! This is another wonderful one, great job Christie!
ReplyDeleteJust beautiful! Can't wait to make one.
ReplyDeleteI couldn't help myself...I spent some time this week already making two of these purses! Thanks for featuring Christie! And thanks for doing these mother's gifts tutorials so we can do something special for our moms. I am the crafty one in my family so I knew I would have to make this for myself. You can check out my bags here: http://thecozyhousecrafter.blogspot.com/2010/05/so-i-didtwo-of-them.html. Thanks, Disney!
ReplyDeleteGOSHDARNIT. I'm so not a lace person....but this bag may have converted me. ADORABLE!!! Thanks for a wonderful tutorial!
ReplyDeleteso, so, girly and feminine and whimsical and...wow! how do you simple things look so georgeous?
ReplyDeleteloved the tute. thank you.
LOVE this! Any thoughts on what you would with those longer, narrow handles? I found a set on an oooooold carpet looking bag. The fabric was dirty and hideous, but I love the handles!
ReplyDeleteJulie
www.vibrant-designs.blogspot.com